Showing posts with label crafts. Show all posts

Saturday, October 6, 2012

Dark Chocolate Torte


Every Sunday I make either a dessert or an entree for Football Sunday (it's a weekly holiday in our household) and my mom makes the other one. I wanted to make a dessert this weekend but with no flour and 3 cartons of eggs in the refrigerator, I knew there was only one dessert that I could really make. Drum-roll please...... A dark chocolate torte. Believe me, I'm so grateful for the circumstance, 'cause this torte is easy (only 5 ingredients, which I always have on hand) and delicious!


Ingredients needed:


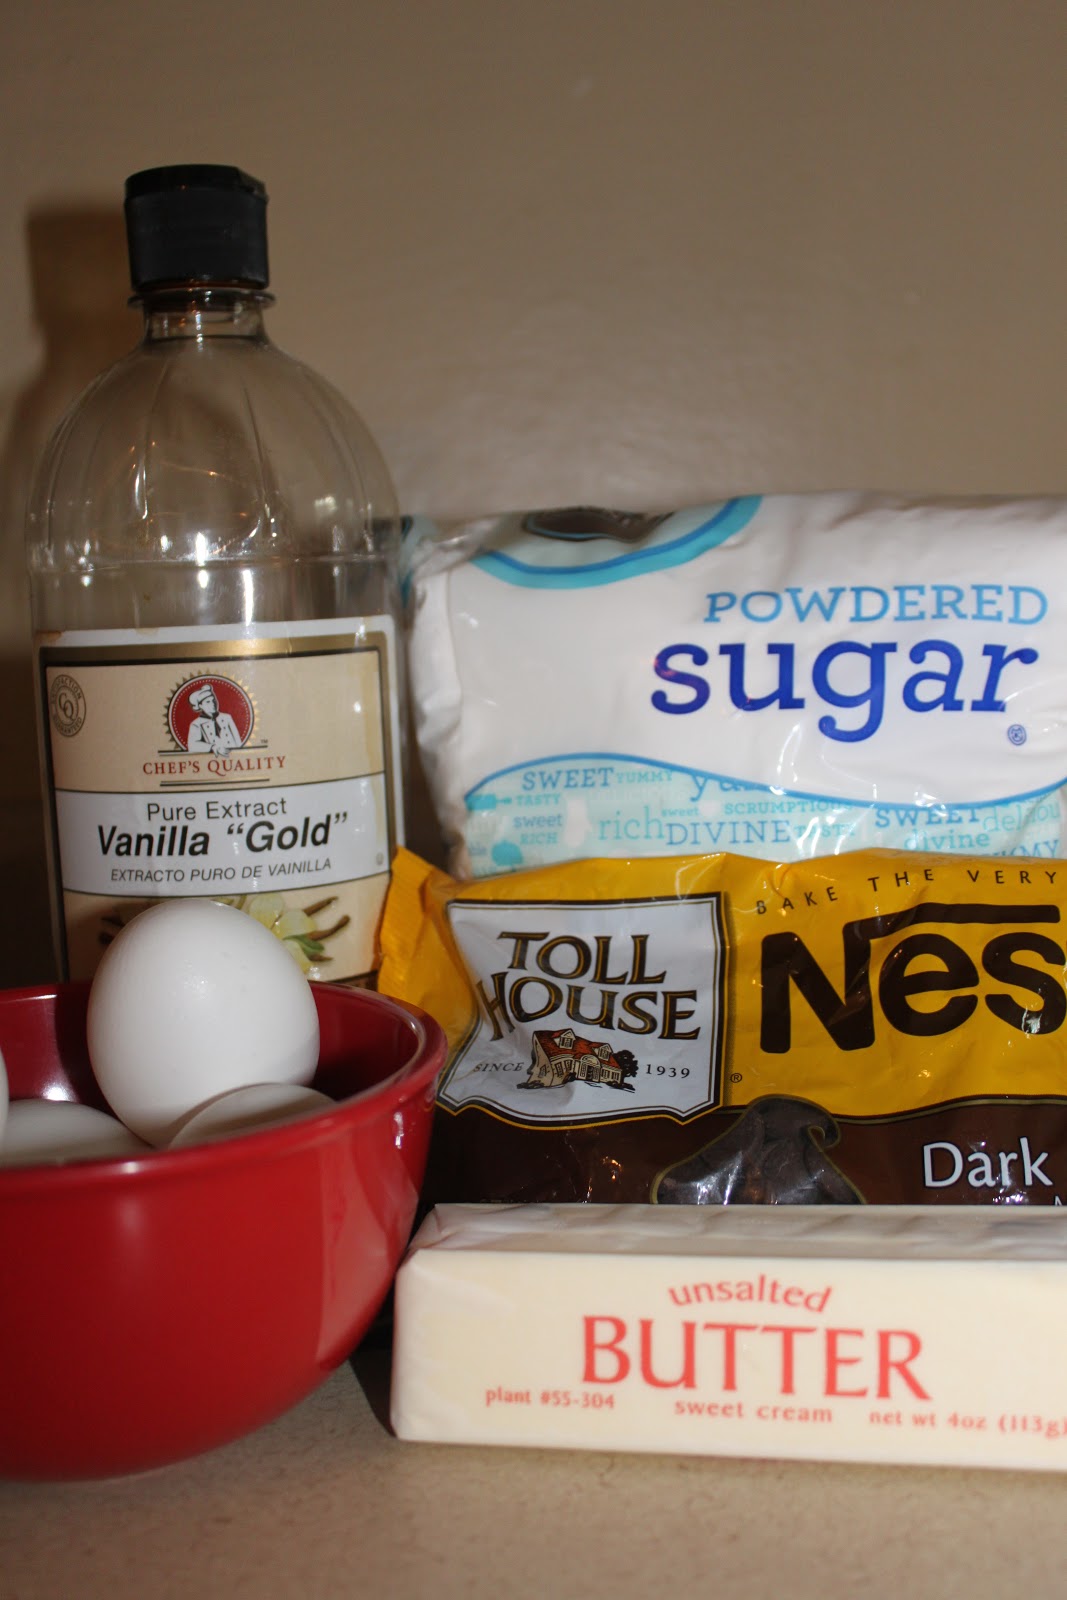
  • 16 oz dark chocolate (you can use semi-sweet as well! I always recommend a higher quality chocolate, especially for this recipe, but all I had were Nestle Dark Chocolate Chips)
  • 1/2 cup butter
  • 5 large eggs
  • 1 Tbsp vanilla
  • 1/4 cup powdered sugar


Preheat the oven to 250 degrees and grease a spring-form pan generously! Melt the butter and chocolate in a saucepan over low heat.


Before
The delicious after!
Separate the eggs.

In a large bowl, whisk the egg yolks and vanilla together.

Slowly beat the warm chocolate mixture into the yolk mixture until well blended.

With the mixer on high speed, blend the egg whites until soft peaks form.

Gradually beat in the 1/4 cup of powdered sugar until it dissolves and whites stand in stiff peaks.

Fold the stiffen egg whites into the chocolate mixture, one third at a time.

Spoon the batter into the pan and spread evenly.

Bake for 1 hour or until a toothpick inserted in the center comes out clean (about 1 hour 10 minutes for me). Let the torte cool in the pan. When cool, remove the sides and cut into slices.

Sprinkle half of the wedges with cocoa powder and the others with powdered sugar. Arrange the slices alternately on cake plate.

I serve this with a scoop of vanilla ice cream, but it's insanely delicious just on its own! You'll want to eat more, but it's so rich you won't be able too!

Sunday, September 30, 2012

Football Yarn Wreath - Go Vikings!

I've seen yarn covered wreaths everywhere lately and since I couldn't find a nice fall wreath that I liked, I figured I would try making one myself. Browsing through Joann Fabrics, I had a ton of ideas running through my mind, but all that was discarded when I saw yarn in purple and gold. It's football season and what better way to show my support for our team than with a stylish wreath on our door!


Here is my list of supplies:
  • Foam wreath
  • Colored yarn
  • Embelleshments (I chose a wooden V and football)
  • Ribbon


Since I purchased a plain wooden V, I painted a couple coats of white and then sprayed it with a matte sealer. Once that was dry, I glued the football on top of the white V so it would be ready to attach to the wreath when I finished it.

Next, I tied one end of the yarn around the foam and then continued wrapping and wrapping and wrapping, switching hands occasionally to avoid cramping!
How I started the wreath

Over half-way done!
Finished wrapping yarn!


Once finished with wrapping the yarn, I glued the embellishment to the wreath and tied a white ribbon around the top to hang it up. This was a very simple way to create a wreath that fits your style perfectly! These are a great gift and will definitely be making more for all the Viking fans in my life!


Tuesday, September 25, 2012

Halloween Baby Jars

Am I the only one who cannot bear to get rid of baby food jars? I literally have a cloth tote bag full of clean empty jars just waiting to be used! My husband has been bugging me to get rid of them, but there must be an adorable way to re-use them... right? 

I'm proud to announce that I have found a way! I saw on Pinterest awhile back some baby food jars that were spray painted yellow to resemble lego characters (which I will be doing for the Conductors first birthday coming up in November, but that's a different post for another time!) and mentioned the idea to Catti. She suggested painting the inside of the jar to keep the outside nice and smooth and a little more durable. Catti also had some orange paint on hand and we thought how cute it would be to make pumpkins! I took the idea and ran!

Here is my Halloween Baby Jars tutorial:


First off, you need your supplies:
  • Obviously some clean, dry baby food jars. I soak the jars in water for a couple minutes to get the label to peel off easily. 
  • You'll need paint. Catti had some washable paint which did an okay job, but I had much better results with the Joanns store brand acrylic craft paint, but really most any paint will do the trick!
  • A permanent marker for details.
  • Paper towels for any clean up and spills
  • A paper plate. I used the plate for when I would tap the jars in case paint came out during the process.

Make sure to shake the paint if needed! I poured about a tablespoon of paint into the jar and slowly swirled it around to cover the bottom evenly.


Then, I tilted the jar horizontally and slowly turned the jar (think like a cement mixer) making sure the glass was getting covered evenly. The first two I was tapping insistently on the kitchen table and it took me about 15 minutes to get each jar covered. On the third jar, I tapped it again the palm of my hand and it went much quicker when I rolled the paint along.


There. Now we've got three orange colored jars ready to be jack-o-lantered. I drew a couple test faces on a piece of paper to figure out which ones I liked the most and then proceeded to draw them on with the permanent marker.


Of course after finishing the pumpkins I started thinking of Frankenstein and Ghosts! Maybe even a Witch or Dracula! Same process, just different colored paints and new faces!
 

Then make sure you husband comes in and makes himself at home on your work table. He brought me a mug of pumpkin spice though, so I guess I can't really complain.


Ta-daa! I let the jars dry overnight (much to the dismay of the Engineer who had a hard time keeping his hands off of the jars - he wants to incorporate them into his train scenes) and worked on the lids the next morning.

To paint the lids, I screwed them onto the jars, poured some paint on the top of the lid (1/4 to 1/2 teaspoon of paint) and dabbed it with a foam brush. The application was not smooth and was bubbly, but I let it dry and proceeded to do another 3 coats and they turned out better than I thought they would!


Enjoy! We can't wait to see what ideas you come up with for your left-over baby food jars!


P.S. I just couldn't resist...